Currently, only the User/Password method can be created via command in the local version. For other methods, please use the dashboard or directly write to ~/.morph/connections.yml.
Run the morph init Command
Run the morph init command to save the DB connection information to ~/.morph/connections.yml.If the morph package is not installed, please install it with the following command before proceeding. Select your database type:
1. PostgreSQL
2. MySQL
3. Redshift
4. SQLServer
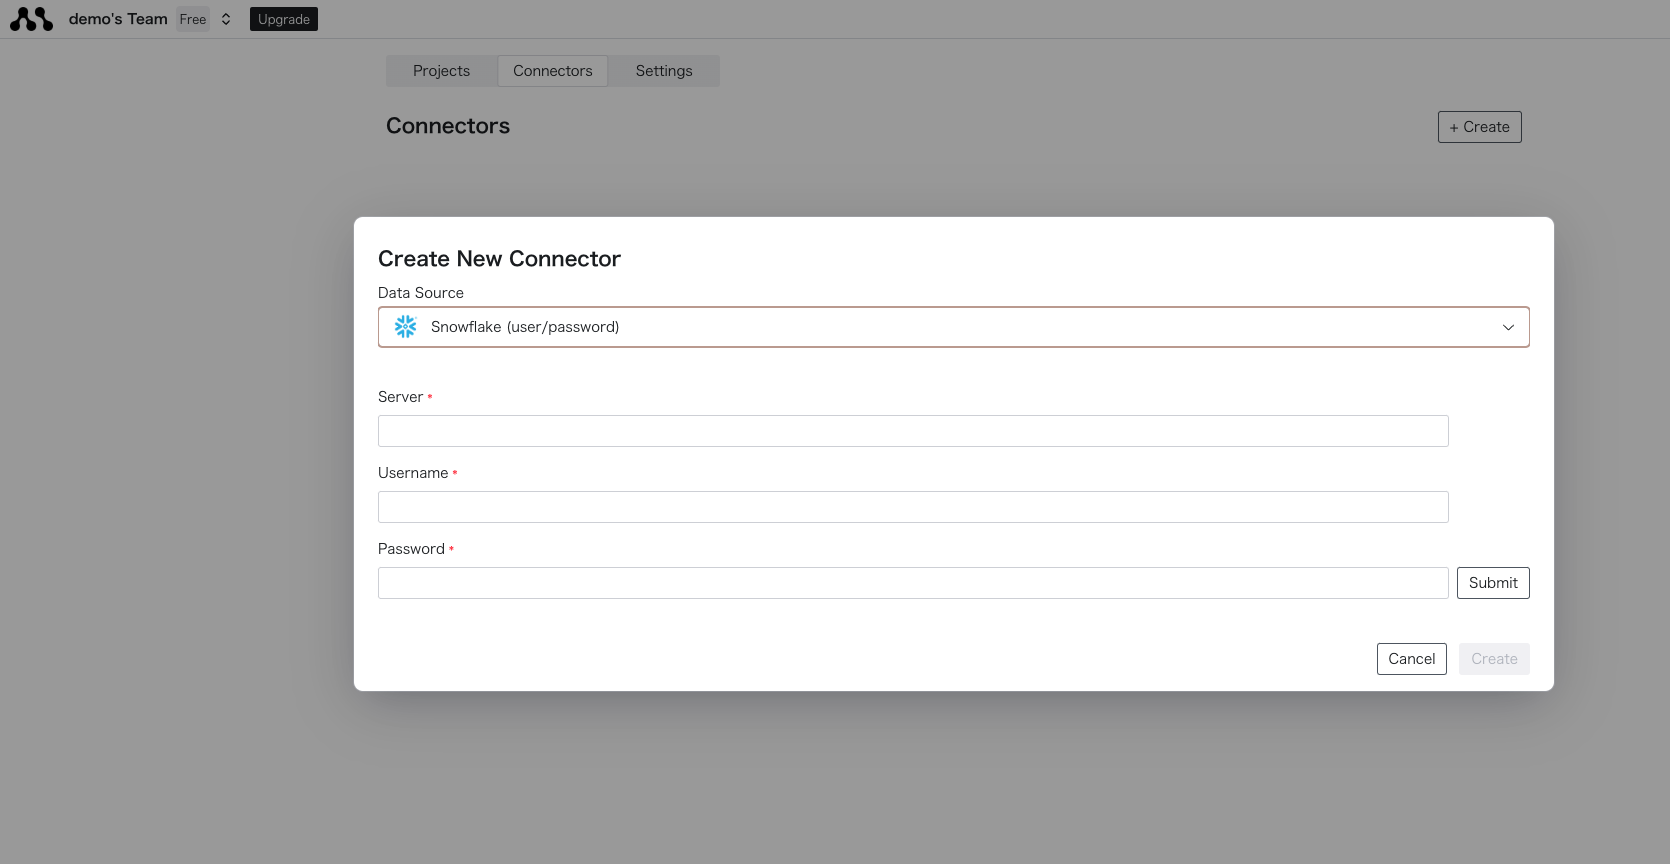
5. Snowflake (User/Password)
6. BigQuery (Service Account)
Enter the number corresponding to your database type: 5
Snowflake (User/Password) selected.
slug is treated as the connector name, which you specify in SQL or Python.Replace the following input examples with actual values that can connect.Create a slug for your connection: snowflake-connection
Enter your Snowflake account: https://~
Enter your Snowflake database name: DEMO
Enter your Snowflake username: DEMO_USER
Enter your Snowflake password: password
Enter your Snowflake role name: DEMO_ROLE
Enter your Snowflake warehouse: DEMO_WAREHOUSE
Enter your Snowflake schema name (optional):
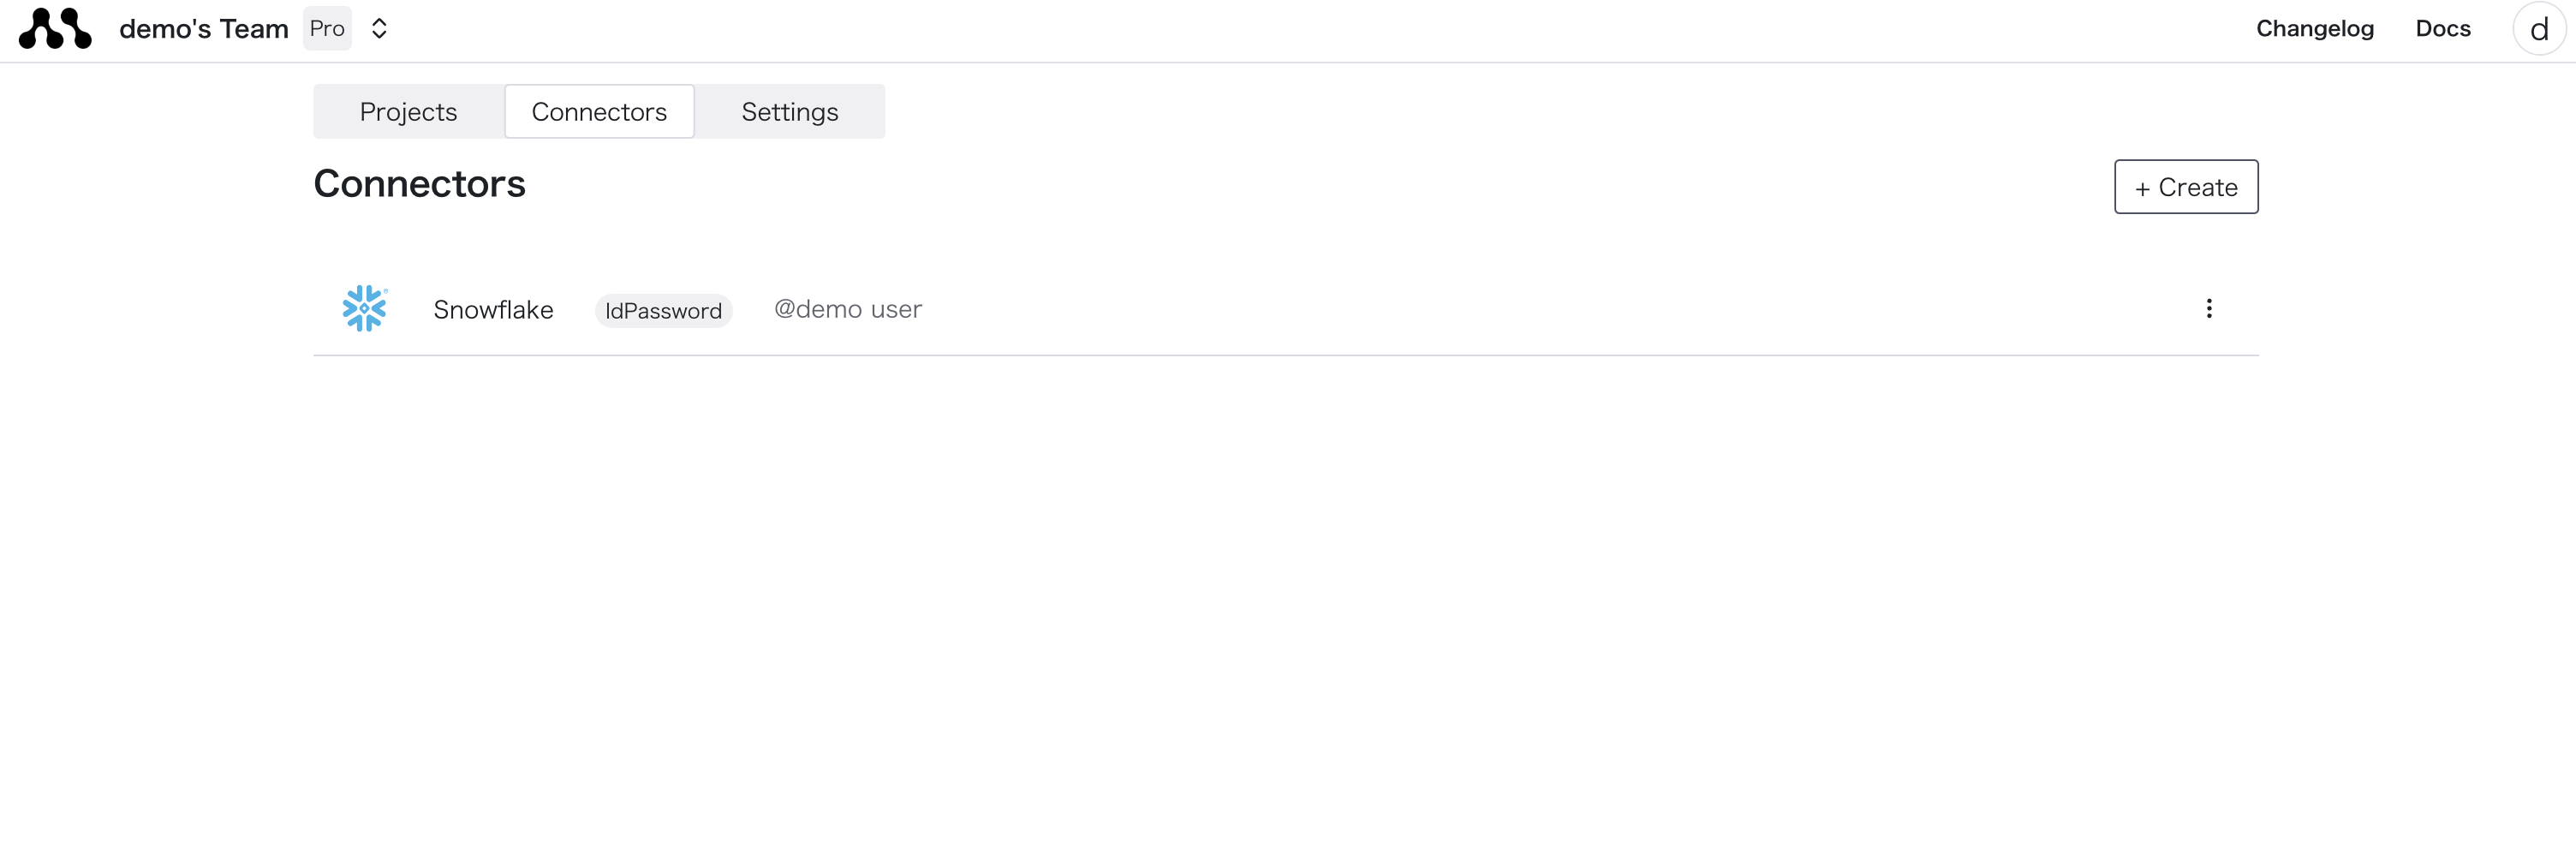
Successfully initialized! 🎉
You can edit your connection details in `path_to_connections.yml`
connections.yml is saved as follows. If other connectors are created, they will be added under connections.cat ~/.morph/connections.yml
connections:
  snowflake-connection:
    account: https://~
    database: DEMO
    method: snowflake_user_password
    password: password
    role: DEMO_ROLE
    schema_: ''
    type: snowflake
    user: DEMO_USER
    warehouse: DEMO_WAREHOUSE
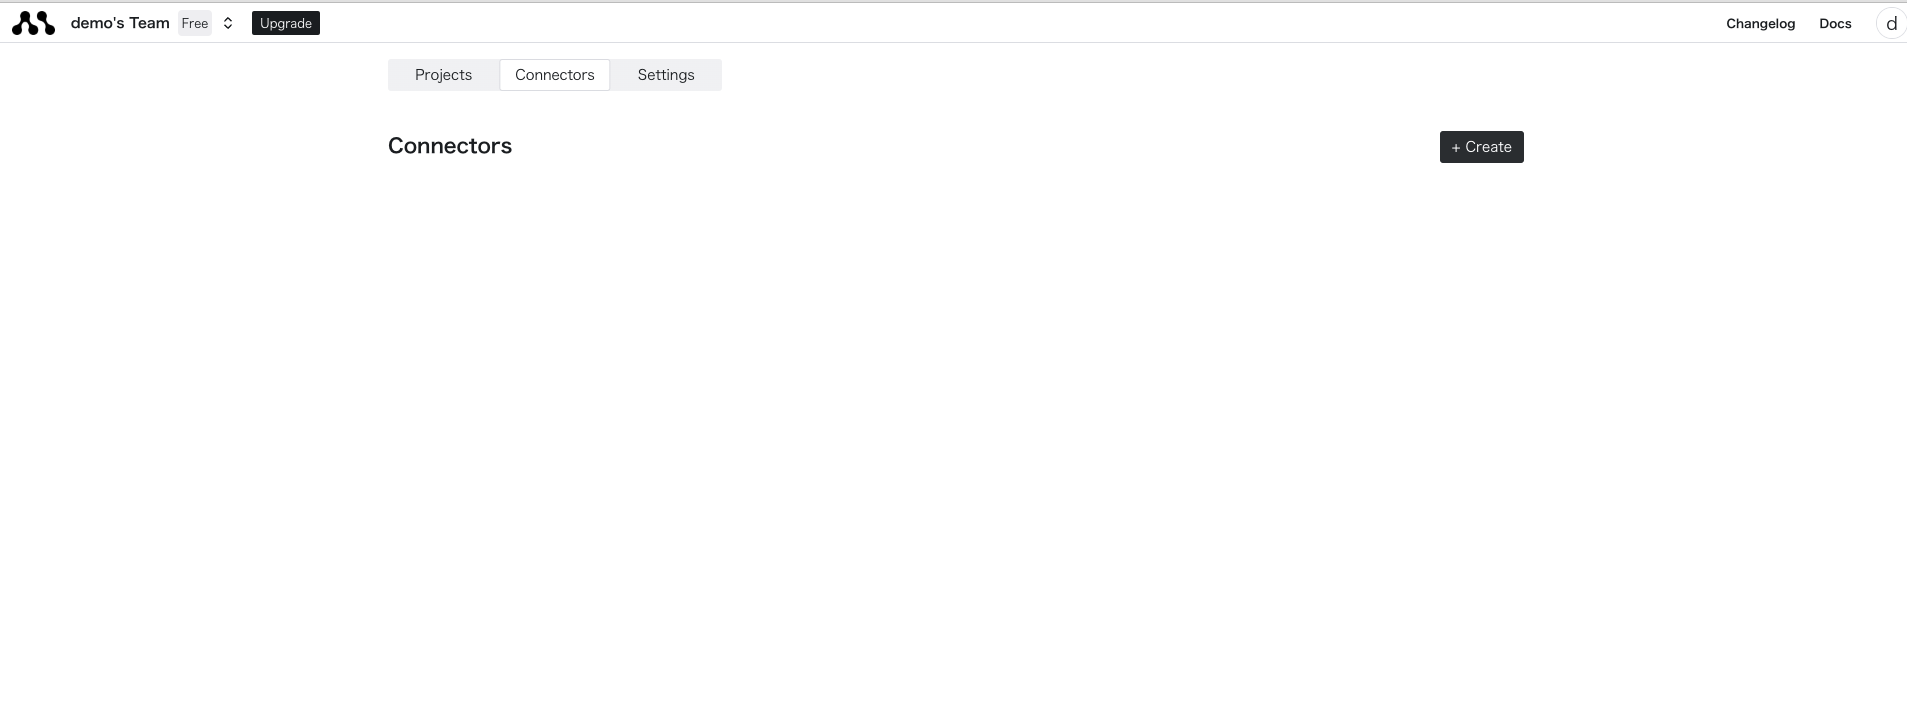
Retrieve Data Using the Connector in Code
Enter the created connector name in your SQL or Python code to retrieve data.{{
config(
connection="connection_name"
)
}}
select * from table_name
When actually specifying the connector and executing the file, the priority is as follows.
Also, please note that only connectors created in the dashboard can be used in environments where morph deploy has been performed.
- Connectors listed in
~/.morph/connections.yml on the local machine
- Connectors registered in the cloud
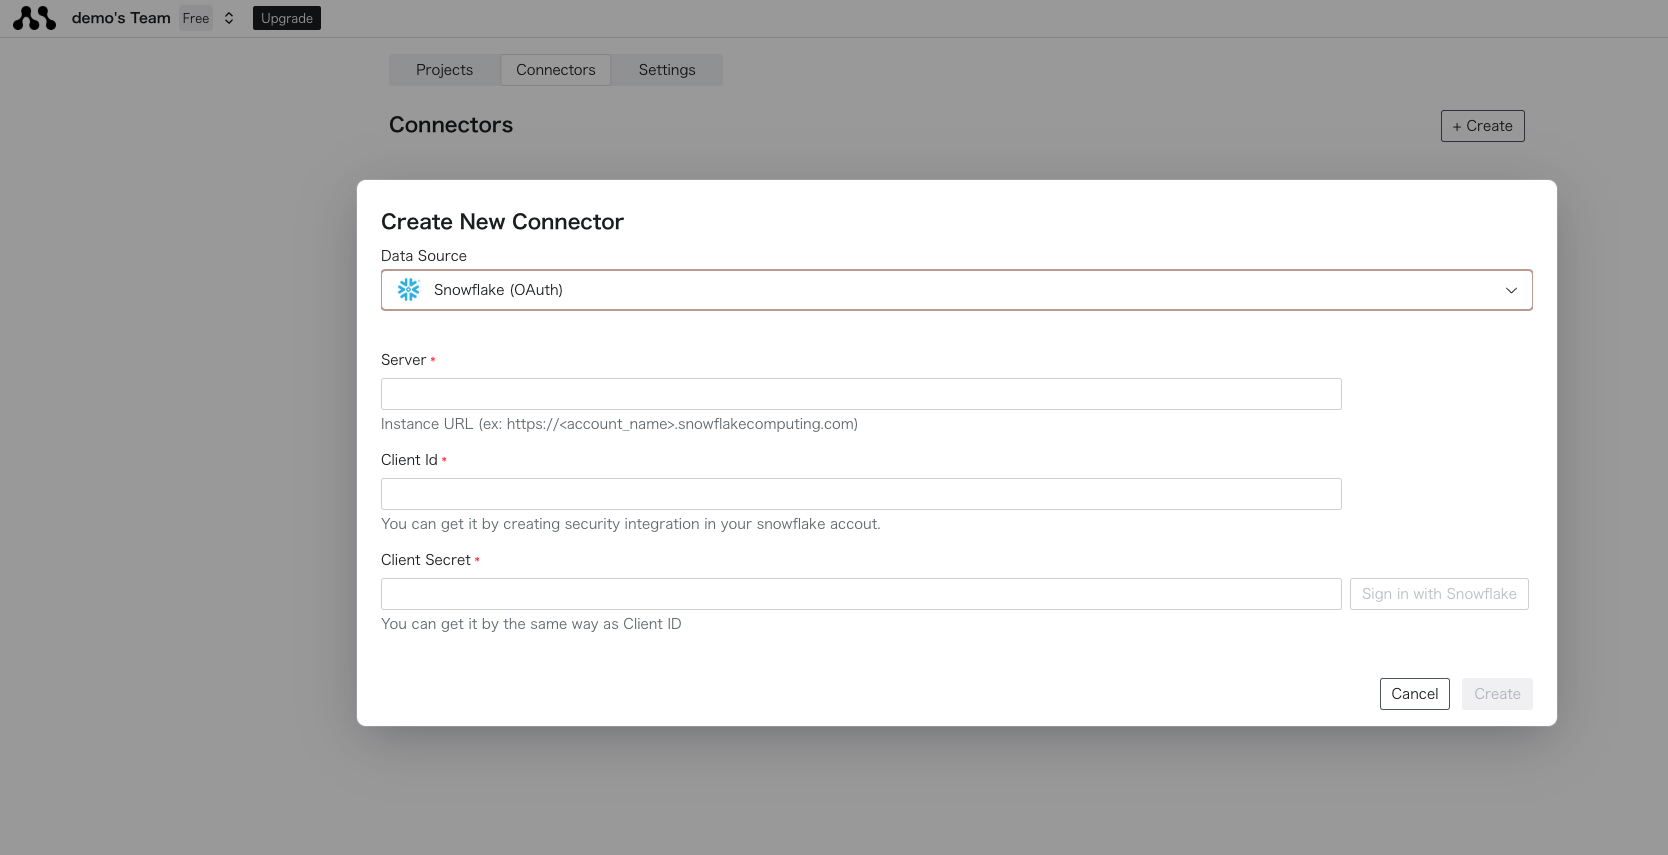
How to Write for Private Key and OAuth
When using a private key or OAuth, directly edit ~/.morph/connections.yml.Access token refresh is a dashboard feature, so the one listed will always be used in the local environment.Private Key Methodconnections:
snowflake-key-pair-connection
type: snowflake # fixed
method: snowflake_key_pair # fixed
account: str
username: str
database: str
key_pair: str
role: str
warehouse: str
schema_: str # optional
passphrase: str # optional
access_token: str # optional
connections:
  snowflake-oauth-connection
    type: snowflake # fixed
    method: snowflake_oauth # fixed
    account: str
    database: str
    refresh_token: str
    client_id: str
    client_secret: str
    redirect_uri: str
    role: str
    warehouse: str
    code_verifier: str
    schema_: str # optional
    access_token: str # optional